When my friend and I first starting hiking the INT in the north, we were using printed maps for navigating. We discovered the drawbacks to this. Namely, that it doesn’t show you at any given moment where you are on the trail in relation to anything else. A couple of times we got lost on a poorly marked trail and wasted valuable time going in circles trying to pick up where we were supposed to be.

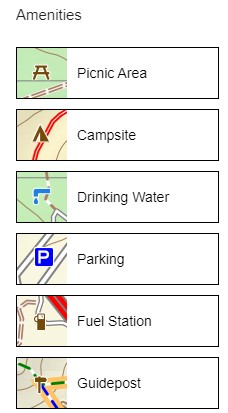
Also, most printed maps are not likely to show a high level of resolution such as where is there a faucet with drinking water? A nice picnic area? A parking lot? A gas station? Points of interest such as ruins?

It was only a bit later that we started using the israelhiking map app and its desktop version.  We have found this to be extremely accurate and never really experienced any prolonged cell reception issues during any hikes north of Arad.

Having said this, it is always good practice to carry printed maps with you, just in case your phone falls in the creek or the battery dies or some such catastrophe.

If you do plan to hike in areas where you are concerned about cell phone reception, you can still use offline maps which I will explain how to do.

Getting started

First, download the israelhiking app on your phone.

Now hop onto your PC or laptop. (Everything I explain here holds true for the app as well. It’s just a lot easier, when planning a hike, to work on larger screen.)

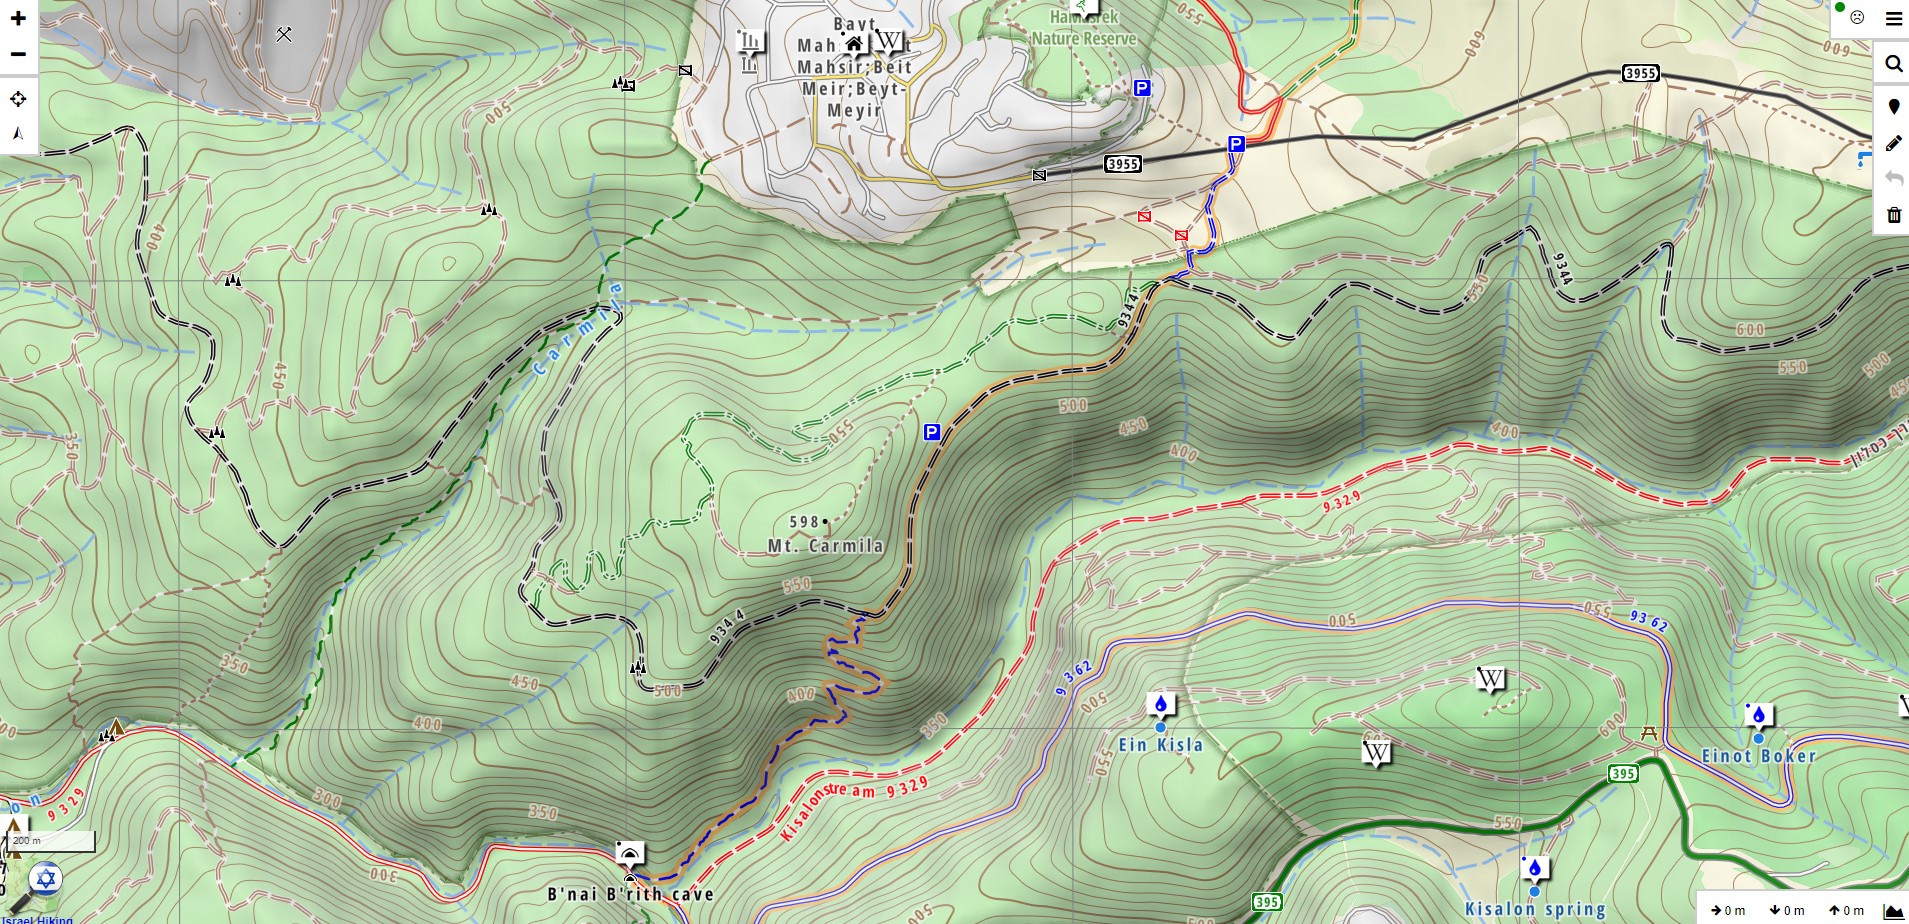
When you first open israelhiking, you will see something like this:

You can zoom in/out by spinning the wheel on your mouse or use the +/- buttons on the screen at the top left.

In order to move around the country, left click on your mouse and drag the map in any direct to the geographical area that you want to look at or use the search feature in the menu at the top right of the screen to jump to it.

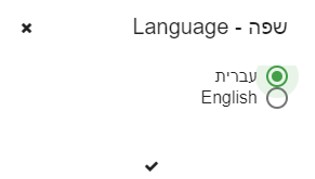
Unless you’re ok with Hebrew, the first thing to do is switch the app or desktop version from Hebrew to English by clicking on the icon with the three bars at the far top right and then on “Language”. Choose “English” and the check mark under that.

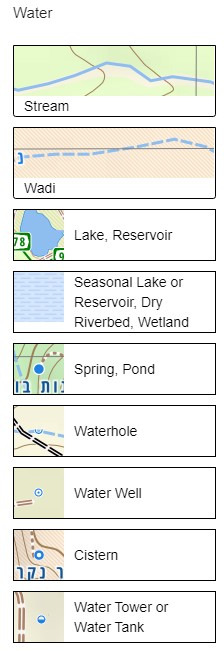
What do all these colors, trail types and icons mean?

Menu – screen top right

The search icon allows you to enter the name of a location and the map will jump to it. This feature might not work so well in English because it might not recognize transliteration of the Hebrew.

Under the search icon is the Google pin-type icon. This allows you to place a pin and label it wherever you want. Example: Parked car here.

The next icon – the pencil icon – is what you will use to highlight the route that you want to hike. More about this later.

The “back arrow” icon does what every back arrow does. It reverses your last action.

The trash can icon is how you erase the highlight from a hike route once you no longer need it.

OK, got it! Now how do I plan a hike route, save a gpx file and share it?

Locate the start point of your intended hike on the map. (Sometimes it helps to use Google maps in parallel with the israelhiking map for the planning stage.)

Click on the pencil icon and under that, the little person icon. Zoom in and from the hike start point, start clicking along the route at intervals. This will highlight it in purplish-blue. (Sometimes the map will “think” for you and take a shortcut, especially if you are zoomed out too much. Just use the back arrow to undo as many steps as necessary and then click forward again until it’s correct.)

Once you’ve highlighted the route from start to finish, you have two options:

  1. Send the route link to yourself and use it online via the app while you’re hiking – this works best for shorter hikes.
  2. Send the gpx file to yourself, download to your phone and keep your phone on flight mode which will save your phone battery but give you less map resolution. This option is best for longer hikes.

Option 1

After your route is highlighted, click on the three bars at the top right then on “Save-Share-Files“, then “Save in the Cloud and Share“.

The default file name is Route 1. Erase this and give it a name you will recognize then click “Save in the Cloud and Share with your Friends“.

You will see a Facebook and Whatsapp icon (I’ve never used these) or you can click on the “copy” icon (3rd from left) to get a link that you can share any other way you prefer.

Option 2

If you prefer to download a gpx file to your phone and use an offline map which saves phone battery power, then highlight your chosen route as in Option 1.

Click the 3 bars at the top right of the screen followed by “Save-Share-Files“. Click on “Export“. This will download a gpx file to your Downloads folder on your PC.

Rename the file to something you will recognize then send it as an attachment to yourself by email.

Download the file from the email app on your phone.

Keep your phone on flight mode to extend your battery life.

When you are ready to start hiking, search for the name of this file in the downloads folder on your phone and click on it.

It will prompt you to choose whether to open the file in the israelhiking app or another app of your choice. Choose israelhiking.

Distance and Elevation menu

The last thing you should take a look at once you’ve highlighted your route and/or downloaded the gpx file, is the distance and elevation menu at the bottom right of the screen:

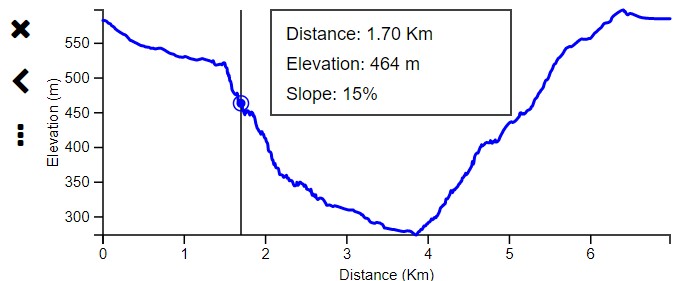
The first stat on the far left is overall hike distance. The next icon is overall descent in meters, the 3rd from left is overall ascent and the one on the far right, if you click on it, will show you a cross section of the elevations and a red line indicating your current location/elevation.

If, like me, you often wonder, “WHEN is this difficult ascent ever going to end?”, then it is helpful to keep an eye on your progress this way as you go.

Let me know if you have questions!